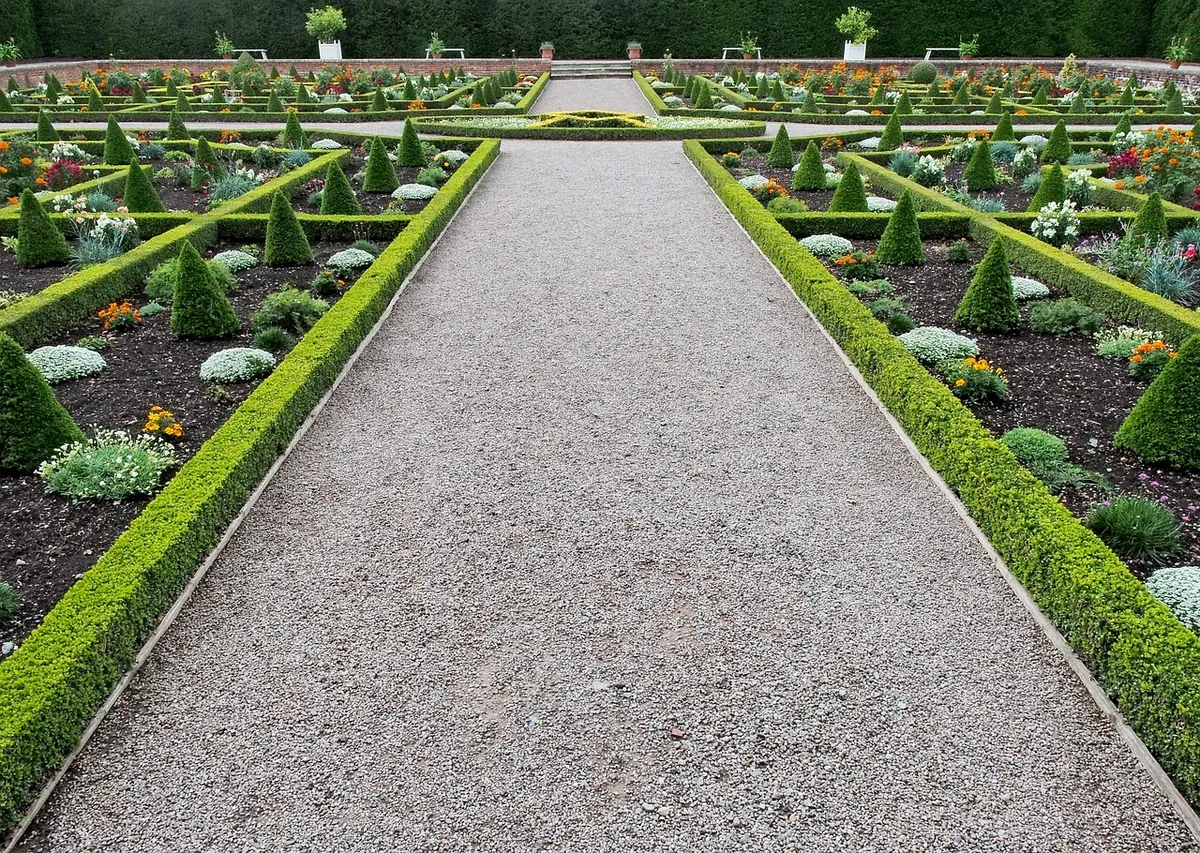
A path that leads to a bench should feel like an invitation. Too often it becomes a ribbon of loose shingle that drifts into the lawn, sprouts weeds by June and turns into a mud slick after heavy rain. The difference between a path you enjoy and one you resent comes down to three things done properly: the excavation, the edging and the compaction.
Get those right and the gravel itself is the easy part. Allow a full weekend for a path of eight to ten metres, plus a seating pad around the bench. Work in dry weather if you can, because wet subsoil is heavy, sticky and miserable to move.
Walk the route before you mark it. A path that runs arrow-straight from the back door can look severe, while a gentle curve softens the whole garden and hides what is round the corner. Curve too tightly, though, and the edging becomes fiddly, so keep any bend generous.
For width, 900mm is the comfortable minimum for one person walking with a bag of compost. Go to 1.2m if two people will often walk side by side, or if a wheelbarrow needs to reach the bench. Around the bench itself, plan a pad of roughly 1.5m by 1.5m so you can pull a chair out and set down a mug without balancing it on your knee.
Drainage matters more than most people expect. Give the path a fall of about 1 in 80 — roughly 12mm of drop for every metre — running away from the house, shed or any wall. Water that sits on gravel eventually pushes the stones apart and softens the sub-base beneath.
Your excavation has to swallow the edging, the sub-base and the gravel, plus a little for settlement. A typical build-up is 60–70mm of compacted sub-base under 30–40mm of gravel, so dig about 100mm deep, and 125mm if the ground is soft.
Edging is what stops gravel wandering into the borders, and it does the visual work of defining the path. Set it first, then fill in around it.
Treated timber is the cheapest option: 100mm by 50mm boards laid on edge, pegged every 600mm with stakes driven below the top, then screwed in place. Steel edging is neater and bends easily around curves; most types have spikes that knock straight into the ground. Granite setts or clay pavers laid on a weak concrete bed look permanent and suit a formal garden.
Whichever you choose, run the top of the edging about 10mm above the finished gravel. That lip holds the stones in place without creating a trip hazard. Nothing looks worse than edging standing proud like a curbstone.
Spread the MOT Type 1 in two layers rather than one thick one. Each layer should be around 40mm before compaction and about 30mm after.
Rake each layer roughly level, then compact it thoroughly with the plate compactor, working in overlapping passes and finishing along the edges where the machine tends to miss. If the material is dusty and refuses to knit together, a light misting from a watering can helps. Check the fall again after each layer, because compacting pulls the surface down unevenly.
Resist the temptation to skip this stage. Gravel laid straight onto soil will rut within a season, and no amount of topping up will cure it.
Roll the woven membrane over the compacted sub-base, overlapping neighbouring strips by about 100mm and turning the edges up against the edging. Woven fabric lets water through but stops weed seeds below from germinating. It will not stop weeds germinating in the gravel itself, but it makes them far easier to pull.
Barrow the gravel on and rake it to an even 30–40mm. Angular stone interlocks as it settles, which is why it stays put underfoot. Once raked, give it a single light pass with the compactor fitted with a rubber pad, or firm it with a hand tamper. More than a light pass simply crushes the stone.
Bench legs sink into loose gravel, and a bench that rocks is a bench nobody sits on. Set the legs on four paving slabs bedded on a mortar mix or on compacted sub-base, then gravel around them. If the whole seating area is gravel, make it a slightly deeper layer — 50mm — so chairs do not scrape the membrane.
Keep the finished gravel at least 50mm below any damp-proof course on an adjoining wall, and check that rainwater running off a roof or downpipe is directed away from the path rather than onto it.
Top up the gravel by about 10mm once a year, usually in spring after winter rain has washed fines away. Rake it back into line with a stiff garden rake, and pull any weeds by hand while they are small — a hoe drags the membrane and tears it.
Use shears rather than a strimmer along the edging, or fit a guard, because nylon line chews through timber and scuffs steel surprisingly quickly. Sweep fallen leaves off in autumn; left to rot, they build a thin layer of soil that weeds love.
Do those small jobs and the path will hold its shape for years. Then the only thing left to decide is which end of the bench gets the afternoon sun.
Photo: aitoff / Pixabay
Practical ways to cut the workload in a small British garden, from gravel and raised beds to evergreen structure,...
Yellow leaves, soggy compost and straggly growth usually trace back to a handful of container-care mistakes. Here's...
Overwatering and drought both damage herbs, but the fix is the same: check soil moisture before you water, then...

Gardening wisdom for your outdoor space..
