
A weathered garden bench rarely fails all at once. First the colour goes, bleached to a soft silver by sun and rain. Then green algae creeps along the seat slats, the joints develop a slight rock, and one damp morning you notice a spongy patch where a leg meets the ground. None of that means the bench is finished. Timber is remarkably forgiving, and most tired benches can be brought back to something solid and good-looking over a weekend — for considerably less than the cost of a new one.
Before you fetch a brush, spend five minutes assessing. Knowing the timber and the extent of the damage decides everything else.
Most garden benches are either a durable hardwood — teak, iroko, oak, robinia — or a softwood such as pine or spruce. Hardwood can be left bare to weather to silver-grey, or oiled to keep some warmth of colour. Softwood will not survive long outdoors without a preservative and a finish on top.
Then check the structure. Press a small screwdriver into the wood at the joints, the feet and the ends of the slats. If it sinks in easily, that timber is rotten. Check for movement in the backrest, a wobble at the arm joints, and rusted or loose fixings. Light rot at a foot can be cut back and filled; a rotten load-bearing tenon usually means splicing in new timber or replacing that part. If you are unsure whether a repair is sound, get a joiner to look at it before anyone sits down.
Work on a sheet on the lawn or on trestles so you can reach every face. Brush off loose dirt and cobwebs first, then wash the whole bench with warm soapy water and a stiff brush, following the grain. Rinse with a hose.
Resist the urge to blast it with a pressure washer on a narrow jet. Water driven hard into the joints sits there and starts rot, and on softwood it tears the surface fibres into a fuzzy mess that takes twice as long to sand flat.
For green algae, an oxygen-based cleaner is the kindest option: mix, apply with a brush, leave for fifteen to twenty minutes, agitate and rinse thoroughly. Don't reach for neat bleach — it scorches the surface and can leave a chalky residue that no finish will sit on evenly. A diluted vinegar solution handles light growth well.
If the bench has gone a flat, lifeless grey and you want colour back rather than an oiled finish, a wood reviver based on oxalic acid will lift the grey and restore some of the original tone. Apply as directed, keep it off nearby plants, and rinse well.
Let the wood dry for a day or two before sanding; damp timber clogs paper and clogs your patience. Then work along the grain, never across it, and never in circles.
Start with 80 or 100 grit where the surface is rough, raised or stained. Move to 120, then finish with a light pass at 180–240. You are smoothing, not reshaping, so don't overdo it — heavy sanding rounds the crisp edges of the slats and takes the character out of the bench. Fold paper into a wedge or use a sanding sponge for the gaps between slats, and wire wool for the corners around joints.
Sand with the grain and let the paper do the work. Bearing down hard creates heat, clogs the sheet and leaves dips you will see under any finish.
Wipe off all dust with a damp cloth and let it dry again before you go any further.
This is the part that adds years rather than looks. Take the bench apart as far as it will sensibly come, keeping the fixings in a jar so you know what goes back where.
For hardwood, oil is usually the simplest and most forgiving finish. Teak oil, Danish oil or a dedicated garden furniture oil all work. Apply thin coats with a brush or cloth, leave for twenty minutes, then wipe off anything the wood hasn't absorbed — puddles of oil turn sticky. Two or three coats, a day apart, is plenty. Oil on a warm, dry day when the wood is thirsty; a light rub with fine paper between coats smooths the raised grain.
Softwood needs feeding differently: a wood preservative first, followed by an exterior stain or paint. Give every end grain extra attention, since cut ends soak up finish faster than any other surface. Avoid painting in direct sun or in the cold; a dry day above about 10°C gives the best result.
Put the bench back together with the new fixings, check that no screw heads sit proud where someone might catch a leg or a hand, and tighten everything properly. Set it down on level ground and test for rock; a sliver of slate or a rubber foot under one leg sorts out a paved or patio surface.
After that, an annual routine keeps the work you have done: in spring, brush off debris, wash the bench, and top up the oil wherever water has stopped beading. Move it under cover for the worst of the winter if you have somewhere to put it.
Two sensible cautions. Dust from very old paint can be harmful, so wear a mask when sanding and take advice if you suspect the bench carries old lead-based coatings. And if the bench is antique, unusually valuable, or has a delicate metal frame, have it looked at by a joiner or conservator before you take sandpaper to it. Otherwise, get the kettle on, open the oil and give an old bench another decade outdoors.
Photo: hpgruesen / Pixabay
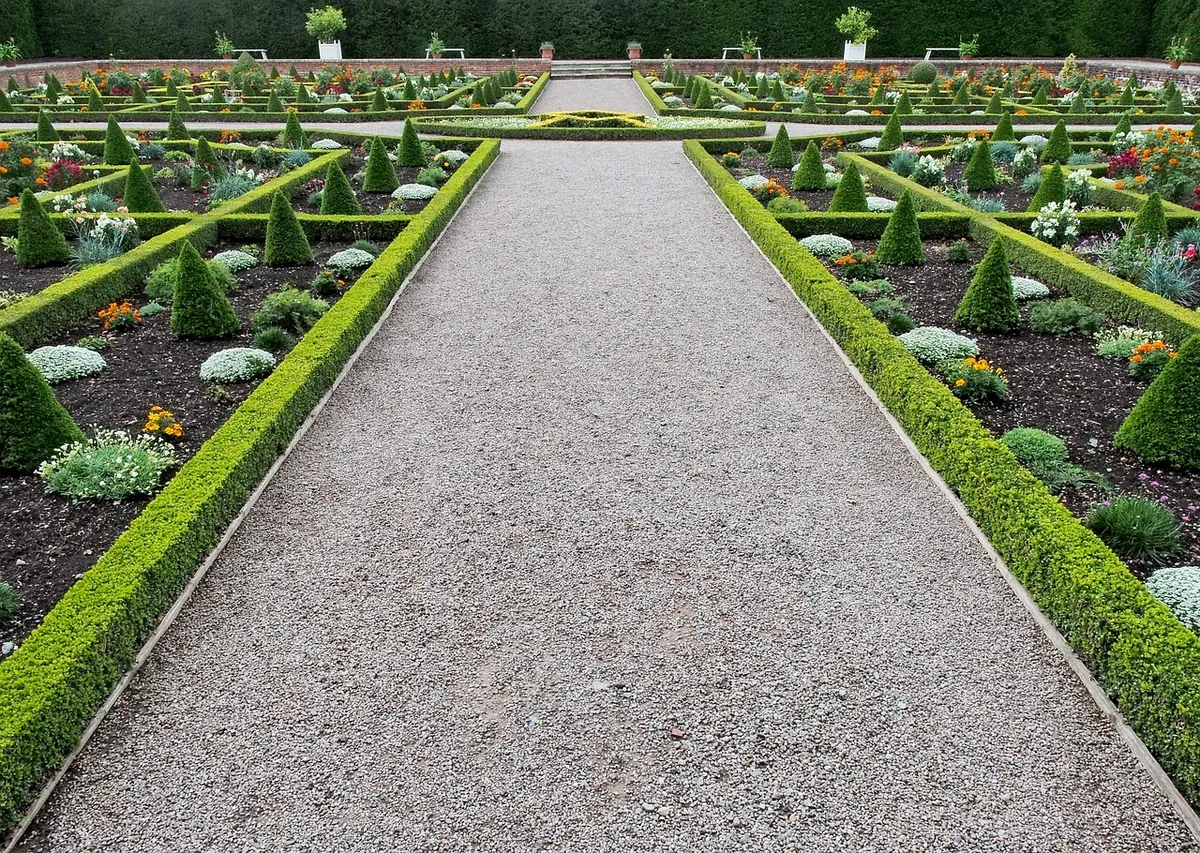
A practical guide to digging, edging and compacting a durable gravel path and seating pad around a garden bench,...
Practical ways to cut the workload in a small British garden, from gravel and raised beds to evergreen structure,...

Yellow leaves, soggy compost and straggly growth usually trace back to a handful of container-care mistakes. Here's...

Gardening wisdom for your outdoor space..
